 Save
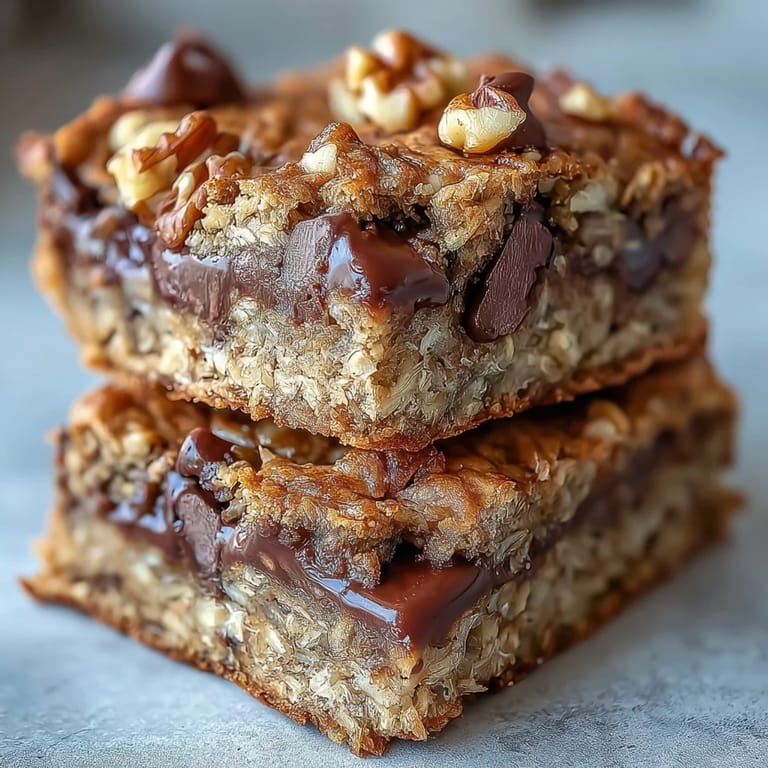
Save My gym buddy Sarah showed up one morning with these golden bars wrapped in foil, and the smell of banana and chocolate filling my entire kitchen made me abandon my plans for plain oatmeal. She'd been experimenting with turning that Chunky Monkey smoothie bowl we always order into something she could actually grab before 6 AM, and honestly, these bars completely changed how I think about breakfast prep. One bite and I understood why she'd made three batches that week.
I brought a batch to my book club and watched everyone immediately ask for the recipe, even the person who usually sticks to salads. There's something about having these bars waiting in your fridge that makes mornings feel less chaotic, and that small moment of having breakfast ready turned into a genuine win in my weekly routine.
Ingredients
- Ripe bananas: Use ones with plenty of spots because they're sweeter and blend into the bars more smoothly, creating that natural moisture you don't get from underripe fruit.
- Unsweetened applesauce: This adds structure and prevents the bars from becoming too dense, which I learned after my first attempt using only banana.
- Maple syrup or honey: Either works beautifully, though maple syrup gives a deeper flavor that plays better with chocolate.
- Unsweetened almond milk: Keep the liquid modest here since bananas already contribute moisture that can throw off your texture.
- Large egg: Binds everything together and creates that tender crumb, or use a flax egg if you're keeping things plant-based.
- Pure vanilla extract: Don't skip this tiny amount because it balances the sweetness and makes every flavor sing.
- Old-fashioned rolled oats: The texture matters here, so avoid instant oats which turn mushy and paste-like in baked goods.
- Vanilla or chocolate protein powder: This is what transforms these from regular oat bars into a legitimate post-workout snack.
- Chopped walnuts: They add crunch and heartiness, plus omega-3s that make these feel like an actual nutritious choice.
- Dark chocolate chips: The good stuff here honestly makes a difference in how satisfying each bite feels.
- Unsweetened shredded coconut: Optional, but I add it for texture and a subtle tropical note that echoes the smoothie bowl inspiration.
- Ground cinnamon: A small amount adds warmth without making them taste like dessert.
- Fine sea salt: This tiny pinch is essential because it anchors the sweetness and prevents the bars from tasting one-dimensional.
- Baking powder: Creates lift and keeps the crumb tender rather than dense.
Tired of Takeout? 🥡
Get 10 meals you can make faster than delivery arrives. Seriously.
One email. No spam. Unsubscribe anytime.
Instructions
- Prep your pan and oven:
- Heat to 350°F and line an 8x8-inch pan with parchment paper, letting it overhang the sides a bit so you can lift the whole batch out afterward. This step saves so much frustration compared to trying to scrape bars from corners.
- Mash and mix the wet base:
- Mash your bananas until smooth, then whisk in the applesauce, maple syrup, almond milk, egg, and vanilla until the mixture looks creamy and well combined. You want zero lumps here because they'll affect how evenly everything bakes.
- Combine the dry components:
- In a separate bowl, toss together the oats, protein powder, walnuts, chocolate chips, coconut if using, cinnamon, salt, and baking powder. Mixing them separately first prevents clumps of protein powder from hiding in your finished bars.
- Bring it together:
- Pour the wet mixture into the dry ingredients and stir gently until just combined, stopping as soon as you don't see dry streaks. Overmixing creates tough bars, so resist the urge to beat it into submission.
- Transfer to pan and top:
- Spread the batter evenly into your prepared pan, using a spatula to smooth the surface. Scatter extra chocolate chips and walnuts on top if you want them to look as good as they taste.
- Bake until golden:
- Bake for 25 to 28 minutes until the top looks golden and a toothpick inserted in the center comes out mostly clean with just a few moist crumbs. The center will firm up as everything cools, so don't overbake or they'll turn dry.
- Cool and slice:
- Let them cool completely in the pan, then lift out using the parchment and slice into 12 bars using a sharp knife, wiping the blade between cuts for clean edges. Completely cooling prevents them from crumbling as you cut.
 Save
Save  Save
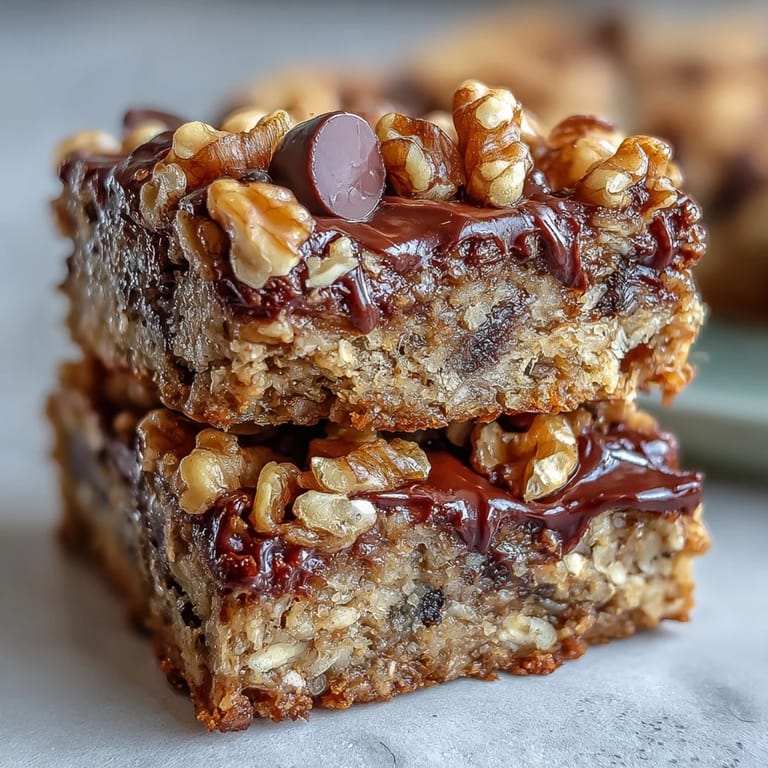
Save I've become that person who brings these bars to potlucks and hikes because they're somehow both indulgent and genuinely good for you. There's a real satisfaction in having something this delicious already made, waiting in your fridge for moments when you need quick fuel.
Storage and Make-Ahead Magic
These bars live happily in an airtight container at room temperature for three days, though I've found they actually taste even better on day two when all the flavors settle into each other. Keep them in the fridge for up to a week, or freeze them individually wrapped in foil for whenever you need a quick breakfast that doesn't feel rushed.
Customization That Actually Works
The beauty of these bars is how flexible they are without falling apart or tasting wrong. You can swap the walnuts for pecans or almonds, use chocolate or vanilla protein powder depending on what you have, or even mix in a handful of dried fruit if you want extra sweetness.
Pairing and Serving Ideas
These bars shine when you pair them with strong coffee or a cold glass of almond milk, though I've also enjoyed them alongside a bowl of yogurt when I want something a bit more substantial. They're portable enough for lunch boxes but feel special enough to serve to guests when someone unexpected drops by.
- Dunk them in coffee for a few seconds if you like them extra soft and cake-like.
- Wrap them individually in parchment and toss into your gym bag or backpack for portable energy.
- Let them come to room temperature if you refrigerate them, since that's when their flavor and texture really shine.
 Save
Save  Save
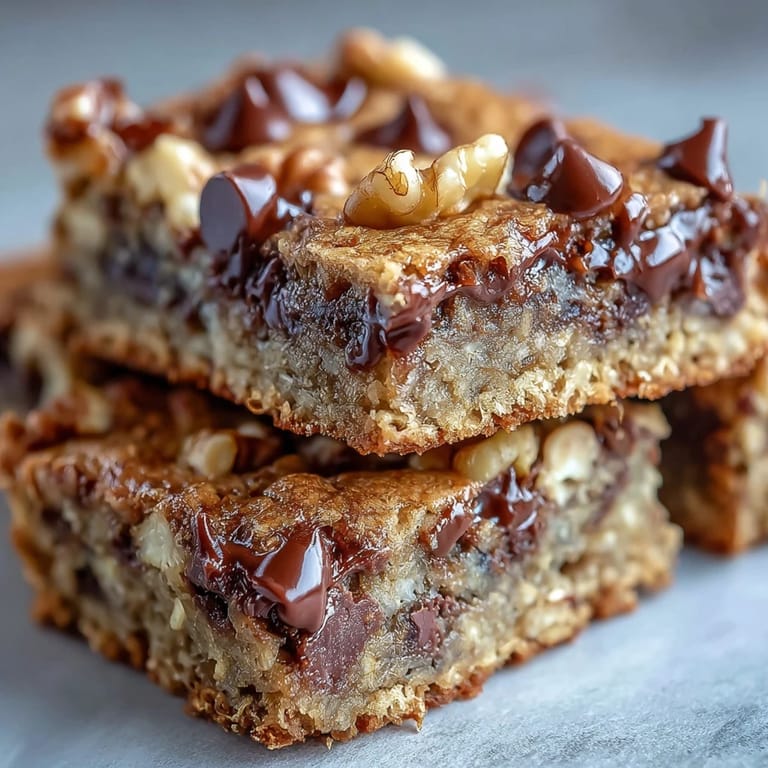
Save These bars have become my answer to the question of what to eat when you're busy but want something that actually nourishes you. Once you make a batch, you'll understand why my friend Sarah became slightly obsessed with them.
Recipe FAQ
- → Can I make these oat bars vegan?
Absolutely. Simply replace the large egg with a flax egg: combine 1 tablespoon ground flaxseed with 2.5 tablespoons water, let it rest for 5 minutes until thickened, then use as you would the egg. Also ensure your protein powder and chocolate chips are vegan-friendly.
- → What type of protein powder works best?
Vanilla or chocolate protein powder in whey or plant-based varieties both work well. Choose a powder you enjoy the taste of since it contributes to overall flavor. Unflavored powder is also an option if you prefer the natural banana-chocolate combination to shine.
- → How should I store these oat bars?
Keep bars in an airtight container at room temperature for up to 3 days, or refrigerate for up to 1 week for extended freshness. For longer storage, wrap individually and freeze for up to 3 months. Thaw overnight in the refrigerator or microwave briefly before enjoying.
- → Can I substitute the walnuts?
Pecans, almonds, or cashews make excellent alternatives to walnuts. For nut-free versions, try pumpkin seeds or sunflower seeds. You can also omit nuts entirely and increase the chocolate chips or add dried fruit like cherries or raisins instead.
- → Why did my bars turn out dry or crumbly?
Dryness usually indicates overbaking or using too little banana. Ensure your bananas are thoroughly mashed and measure precisely. Baking times vary by oven—check at 25 minutes and remove when edges are golden but center still appears slightly moist, as they continue cooking while cooling.
- → Can I use quick oats instead of old-fashioned rolled oats?
Old-fashioned rolled oats provide superior texture and structure, but quick oats can work in a pinch. The bars may be slightly softer and less chewy. Steel-cut oats are not recommended as they won't soften properly during the baking time.