 Save
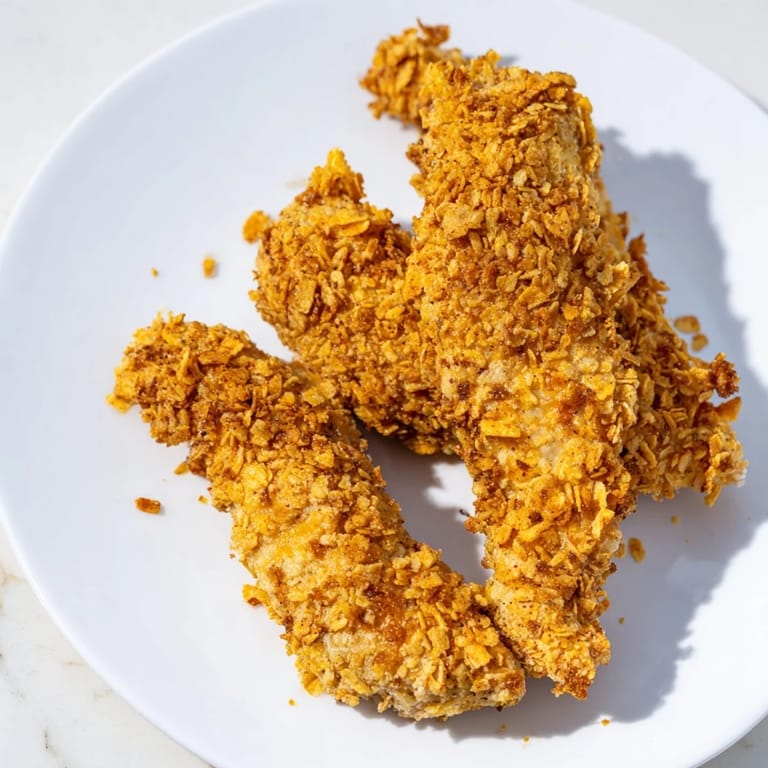
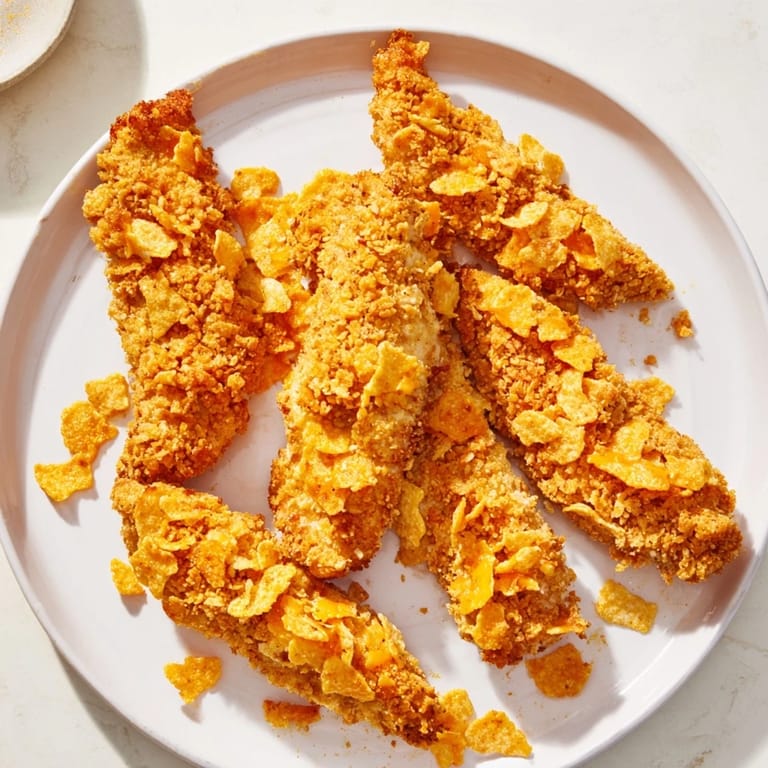
Save The first time I served these to my nephew, he actually put his phone down. Crispy onion chip chicken tenders arrived on the plate golden and crunchy, and within seconds he was asking for seconds before he'd even finished his first piece. It wasn't just the crunch that got him—it was that savory onion flavor mixed with melted cheese that somehow made him feel like he was eating something fancy instead of something so wonderfully simple to make.
I remember standing in the kitchen on a Tuesday evening, staring at a bag of onion chips that had been sitting in the pantry for weeks, when it hit me that those snacks could become something entirely different. The sound of them crunching as I crushed them felt like a small discovery, and by the time they hit the oven, the whole kitchen smelled like a fair mixed with a steakhouse. My partner walked in mid-cooking and just said, 'What is that smell?' in the best possible way.
Ingredients
- Chicken tenders: Use the thickest pieces you can find so they stay juicy inside while the coating crisps up on the outside.
- Onion chips: Brands like Funyuns work perfectly, but any onion-flavored snack will do—the key is letting them stay coarse, not fine.
- Cheese chips: Cheddar crisps or cheese puffs add a subtle savory note that makes people ask what your secret ingredient is.
- Flour mixture: The garlic powder and paprika lift the entire coating from plain to genuinely flavorful.
- Egg wash: This is your glue—skip the milk if you want it to stick even more aggressively.
Tired of Takeout? 🥡
Get 10 meals you can make faster than delivery arrives. Seriously.
One email. No spam. Unsubscribe anytime.
Instructions
- Get Your Station Ready:
- Preheat your oven or air fryer now so it's hot when you need it. Line your pan with parchment paper or give your air fryer basket a light spray—this prevents sticking and makes cleanup feel like a gift to your future self.
- Crush Your Chips:
- Pour your onion and cheese chips into a food processor and pulse until they're coarse crumbs—like wet sand, not powder. If you don't have a processor, seal them in a zip-top bag and crush with a rolling pin or the bottom of a glass, which is honestly more satisfying anyway.
- Set Up Your Dredging Station:
- Three shallow dishes: one with seasoned flour, one with whisked eggs and milk, and one with your crushed chip mixture. Pat your chicken tenders dry first—this helps everything stick properly and creates a better crust.
- Coat Each Tender:
- Dredge each tender in flour, shaking off the excess, then dip into the egg wash, then press firmly into the chips so the coating really adheres. This three-step process is what makes the difference between a good crust and one that stays put.
- Arrange and Cook:
- Lay your tenders on the prepared pan in a single layer without crowding—air circulation is your friend here. Bake for 16 to 18 minutes, flipping halfway, until the coating turns deep golden and the internal temperature hits 165°F.
 Save
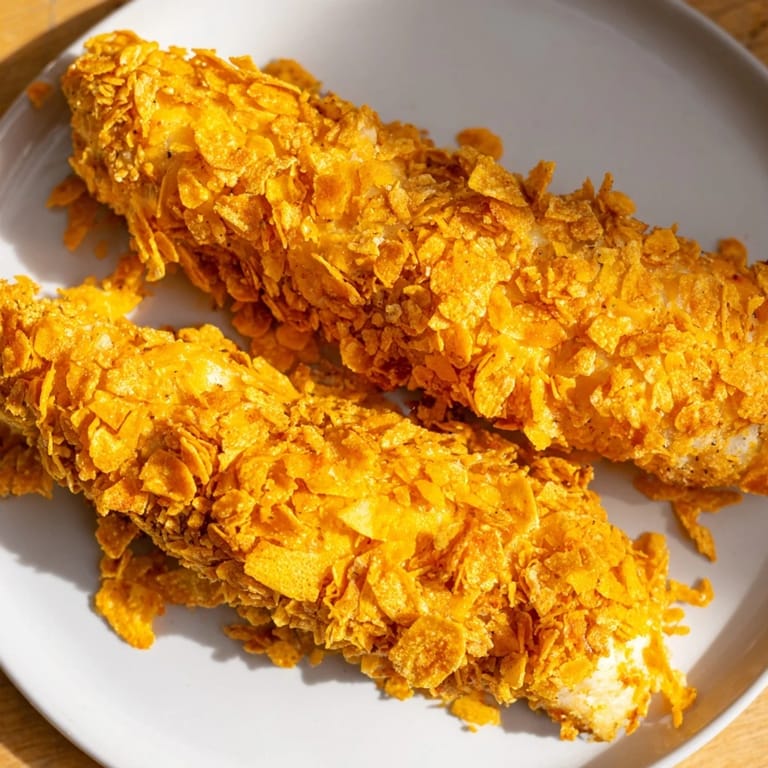
Save There was this moment when I pulled the tray out of the oven and my kitchen filled with this impossibly good smell—salty, savory, with an undertone of something that made everyone stop what they were doing. That's when I realized this wasn't just a clever way to use up snacks; this was comfort food that somehow felt a little bit like an adventure.
Why This Works So Well
The magic here is texture contrast—crispy shell, juicy center, and a coating that actually tastes like something instead of being a neutral vehicle. Onion and cheese chips carry real flavor that baking intensifies, so you get this deep, savory crust without any of the hassle of making a complicated breading from scratch. The moisture from the egg wash helps the chip crumbs bond to the chicken instead of sliding off, and baking means you're not dealing with hot oil splattering everywhere.
How to Make It Your Own
This recipe is forgiving in the best way. If you want heat, add cayenne pepper to the flour. If you have a different brand of flavored chips in your pantry, try them—ranch chips, BBQ chips, even salt and vinegar would be interesting. You can also play with the dipping sauces; ranch is the obvious choice, but honey mustard, smoky BBQ, or even a simple sriracha mayo opens up different flavor stories.
Storage and Reheating
Leftovers keep for three days in an airtight container and reheat beautifully in a 350°F oven for about five minutes—better than the microwave, which makes them soggy. These also freeze well before cooking, so you can prep a whole batch on a quiet Sunday and have them ready whenever you need an easy dinner that feels a little bit special.
- For a gluten-free version, use gluten-free flour and check that your chips are certified gluten-free before crushing.
- If you're cooking for someone with a cheese allergy, you can omit the cheese chips entirely and add a little extra salt to the flour mix.
- Serve these straight from the oven when the coating is still crackling—that's when they're at their absolute best.
 Save
Save This recipe proved to me that the best meals don't have to be complicated; they just have to come from a place of wanting to make someone happy. These tenders do that in under 35 minutes, and they taste like you actually know what you're doing in the kitchen.
Recipe FAQ
- → How do I achieve maximum crispiness?
Ensure the chicken tenders are patted dry before coating and press the chip crumbs firmly onto each piece. Baking at a high temperature or air-frying helps create a golden, crispy crust.
- → Can I make them gluten-free?
Yes, substitute all-purpose flour with gluten-free flour and use gluten-free onion and cheese chips to maintain the crunchy coating.
- → What are good dipping sauces to pair?
Ranch, honey mustard, or smoky BBQ sauce complement the crunchy coating and add extra flavor.
- → How long does cooking take?
Bake for 16–18 minutes at 425°F or air fry for 10–12 minutes at 400°F, flipping halfway through for even crispiness.
- → Can I add spice to the coating?
Yes, adding ½ tsp cayenne pepper to the seasoned flour mixture adds a pleasant spicy kick.