 Save
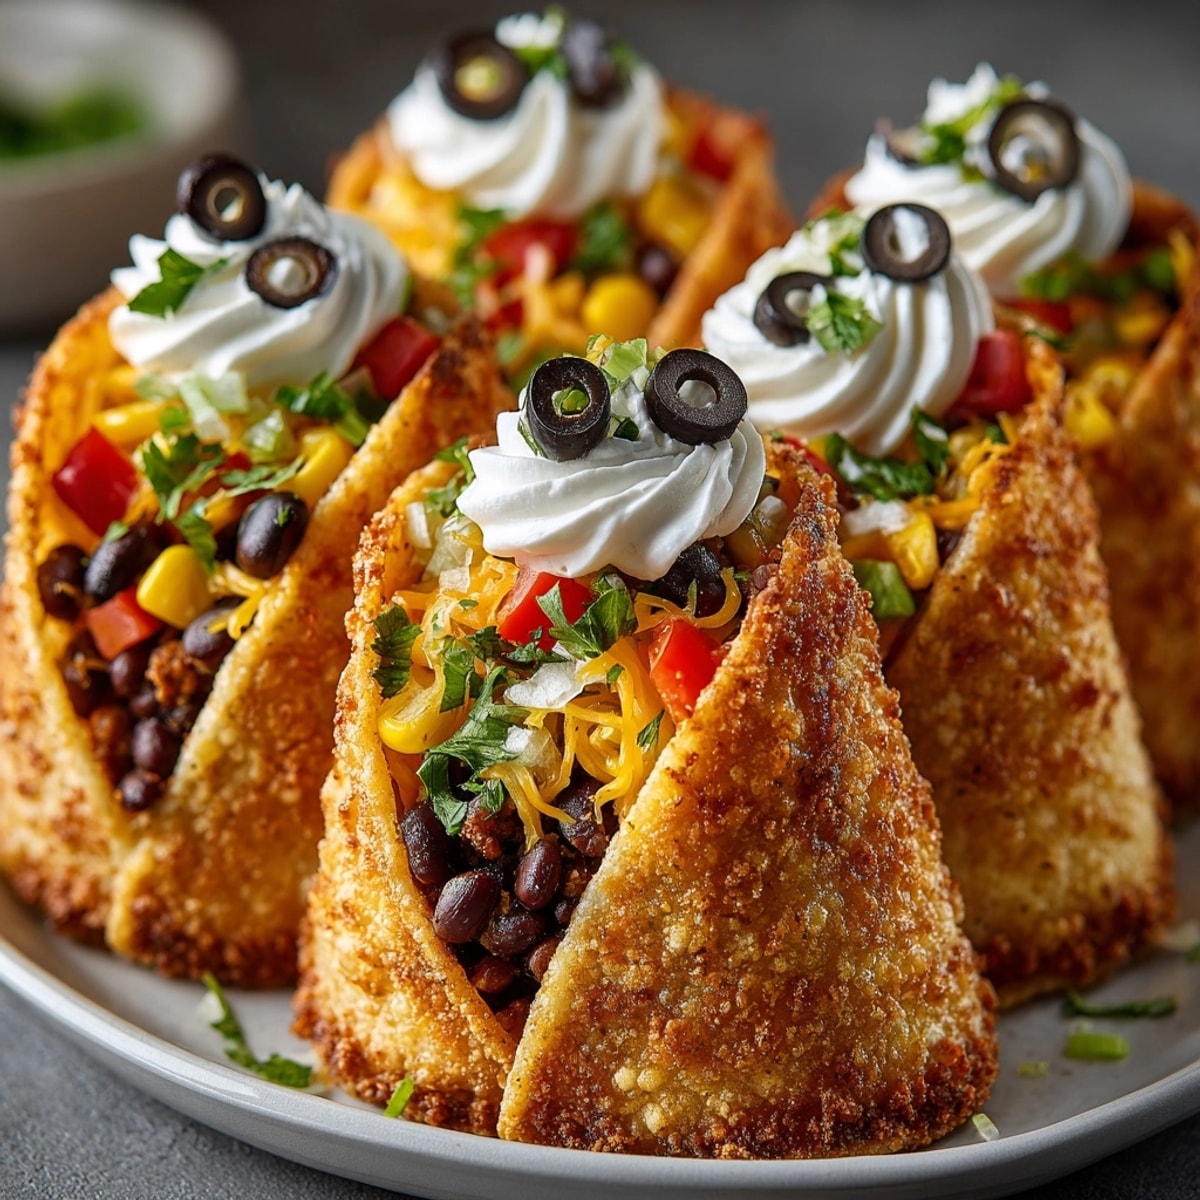
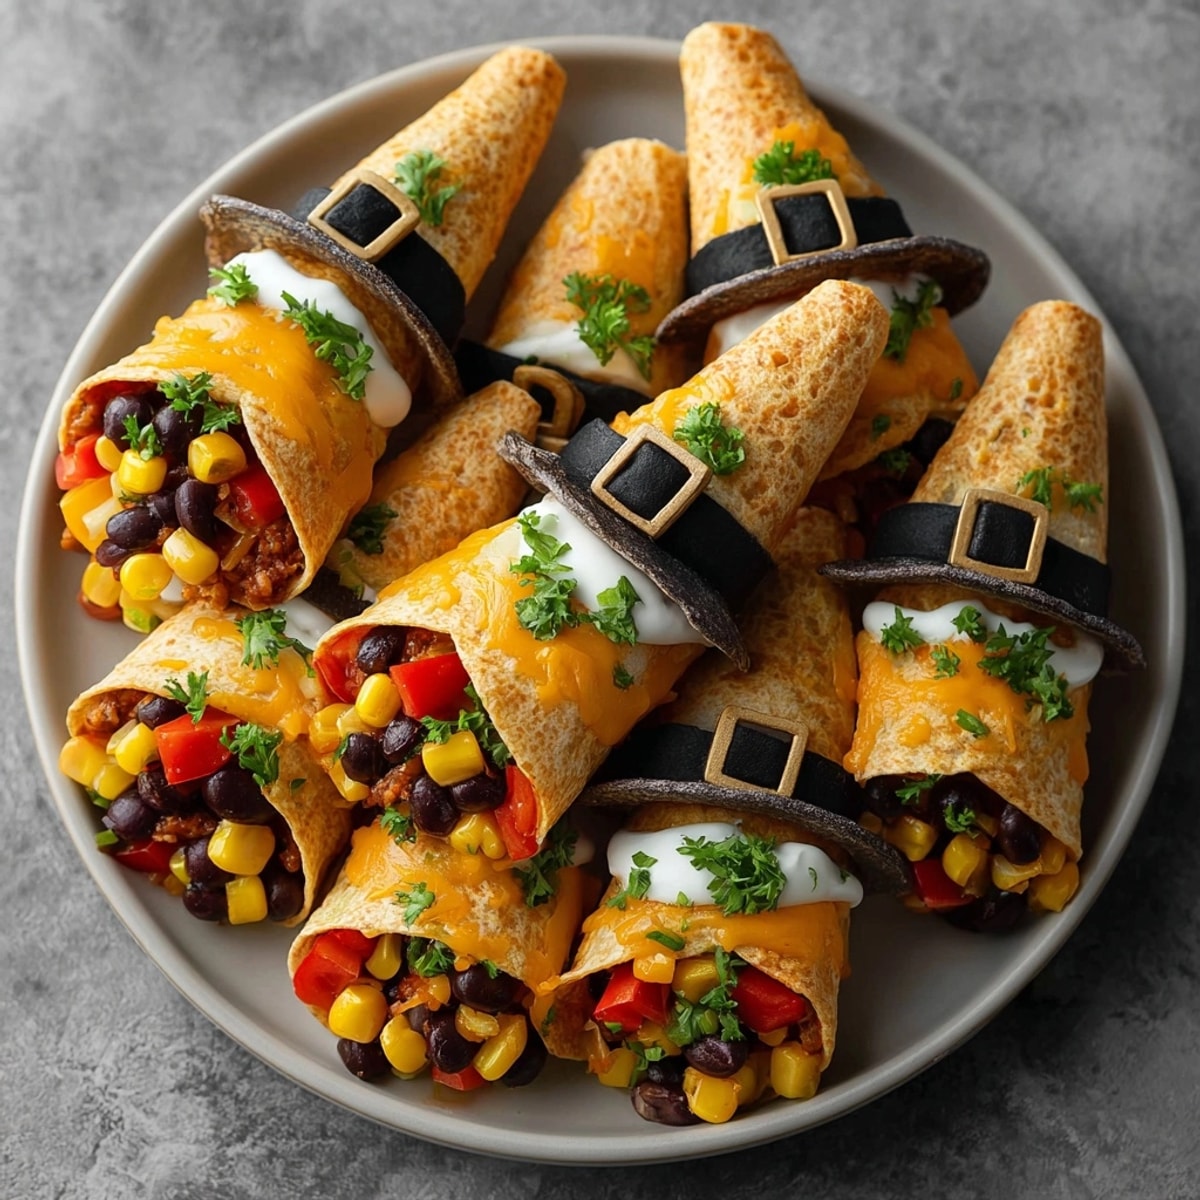
Save This hearty Halloween Witch Hat Tortilla Wraps recipe transforms ordinary tortillas into magical witch hat-shaped snacks that will cast a spell on your Halloween party guests. The crispy tortilla cones filled with a flavorful Tex-Mex mixture create the perfect festive treat that's as fun to make as it is to eat.
I first created these witch hat wraps for my niece's Halloween birthday party, and they disappeared faster than candy on trick-or-treat night. Now they've become our family's most requested Halloween tradition, with everyone gathering in the kitchen to help assemble these magical treats.
Ingredients
- Flour tortillas: large ones work best as they create the perfect sized witch hat cone
- Olive oil: ensures the tortillas crisp up perfectly in the oven
- Black beans: provide protein and that classic Halloween color scheme
- Corn: adds natural sweetness and a pop of color against the black beans
- Cheddar cheese: creates a melty delicious binding agent for the filling
- Red bell pepper: adds crunch freshness and vibrant color to the mixture
- Diced tomatoes: contribute moisture and acidity to balance the flavors
- Green onions: provide a mild onion flavor without overpowering the filling
- Fresh cilantro: brings brightness and herbaceous notes to cut through the richness
- Ground cumin: essential for authentic Tex Mex flavor and warmth
- Smoked paprika: adds depth and a subtle smoky undertone
- Sour cream: creates the perfect white band for decorating the witch hats
- Black olive slices: transform into perfect hat buckles completing the witch hat look
Instructions

- Prepare the Oven:
- Heat your oven to 400°F and line a baking sheet with parchment paper. The parchment prevents sticking and makes cleanup easier. Position your rack in the middle of the oven for even heating.

- Shape Your Witch Hats:
- Stack your tortillas for efficient cutting and use a sharp knife to cut each into a large triangle shape. You can create a cardboard template first to ensure consistency. Save the scraps for making tortilla chips later. The triangle should be large enough to roll into a cone while leaving room for filling.

- Oil and Form the Cones:
- Brush both sides of each triangle with olive oil using a pastry brush, ensuring even coverage especially at the edges. Roll each triangle into a cone shape, overlapping the straight edges by about an inch to create the witch hat shape. Secure with toothpicks inserted horizontally to hold the shape during baking.

- Bake to Perfection:
- Place the cones seam-side down on your prepared baking sheet, spacing them about an inch apart. Bake for 7-10 minutes, watching carefully as they can go from golden to burnt quickly. The perfect witch hat should be golden brown and crisp enough to hold its shape, but not too dark.

- Prepare the Filling:
- While the cones bake, combine all filling ingredients in a large bowl. Mix gently but thoroughly, being careful not to mash the beans or tomatoes. Taste and adjust seasonings as needed. The filling should be cohesive but not wet.

- Fill the Hats:
- Allow the baked cones to cool slightly, then carefully remove the toothpicks. Hold each cone in your non-dominant hand and use a spoon to fill it with the mixture, gently pressing down occasionally to ensure the filling reaches the pointed end of the hat.

- Decorate Your Witch Hats:
- Transfer sour cream to a piping bag or a zip-top bag with a corner snipped off. Pipe a band around the base of each hat where the brim would be. Place two black olive slices side by side on the front of each hat to create a buckle effect, gently pressing them into the sour cream to secure.

- Serve with Style:
- Arrange your completed witch hats on a dark-colored serving platter for maximum visual impact. For an extra spooky touch, add a few plastic spiders around the display or create a "graveyard" scene with crumbled chocolate cookies as dirt.

 Save
Save My favorite part about these witch hats is watching guests' faces light up when they see them. My daughter once declared them "too cute to eat" before promptly devouring three in one sitting. The combination of the crispy shell with the savory filling creates that perfect textural contrast that keeps everyone reaching for more.
Storage and Make-Ahead Tips
While these witch hat wraps are best enjoyed freshly assembled, you can prepare components ahead of time to streamline your Halloween party prep. The tortilla cones can be baked up to 24 hours in advance and stored in an airtight container at room temperature. The filling mixture can be prepared up to 48 hours ahead and refrigerated in a sealed container. If you must assemble ahead of time, do so no more than 2 hours before serving and keep refrigerated to prevent the tortillas from becoming soggy.
Creative Variations
Transform these witch hats into a build-your-own station for Halloween parties by setting out pre-baked cones and various filling options. Try a dessert version with chocolate hazelnut spread, sliced strawberries, and banana pieces. For a breakfast twist, fill with scrambled eggs, breakfast sausage, and cheese. You can even create a spooky green filling using guacamole, chicken, and lime juice for a "witch's brew" theme that kids will love.
Allergy-Friendly Adaptations
These festive witch hats can easily accommodate various dietary restrictions. For gluten-free guests, substitute corn tortillas or gluten-free flour tortillas, though you may need to adjust baking time slightly. For dairy-free needs, replace the cheese with dairy-free alternatives and use coconut yogurt in place of sour cream for decoration. Those with nut allergies can rest easy as this recipe is naturally nut-free, making it a safer option for school Halloween parties where nut allergies are a concern.
Serving Suggestions

Create a complete Halloween spread by pairing these witch hat wraps with other themed foods. Serve alongside "mummy dogs" (hot dogs wrapped in crescent roll strips), "spider deviled eggs" (with olive spiders on top), and "monster guacamole" (with tortilla chip fangs and olive eyes). For drinks, offer a bubbling witch's brew punch with lime sherbet and lemon-lime soda. Complete the spread with a vegetable platter arranged to look like a skeleton for a balanced offering.
 Save
Save These witch hats are a delightful visual and culinary treat for any Halloween celebration. They offer a satisfying crunch and a burst of flavor in every bite.
Recipe FAQ
- → How do you shape tortillas into witch hats?
Cut tortillas into large triangles, roll into cones to form hat shapes, and bake until crisp.
- → Can these wraps be made vegan?
Yes, simply use plant-based cheese and vegan sour cream for a dairy-free version.
- → How far in advance can these wraps be assembled?
They can be made up to 2 hours ahead; keep refrigerated to maintain crispness.
- → What’s the best way to fill the tortilla hats?
Spoon the prepared filling into each cone, gently packing the mixture to hold shape.
- → Are these suitable for kids' parties?
Absolutely! The playful appearance and mild, flavorful filling are great for children.
- → Can I adjust the spice level in the filling?
Yes, add diced jalapeño or hot sauce for extra heat, or omit for a milder flavor.