 Save
Save My friend Sarah showed up to our Fourth of July party with a cast iron skillet and a mischievous grin, insisting she had something better than the usual dessert table. Twenty minutes later, we were all gathered around melted chocolate and toasted marshmallows, plucking graham crackers into warm gooeyness like we were back at summer camp. No campfire required, just an oven and the kind of dessert that makes everyone forget about their phones for a solid ten minutes.
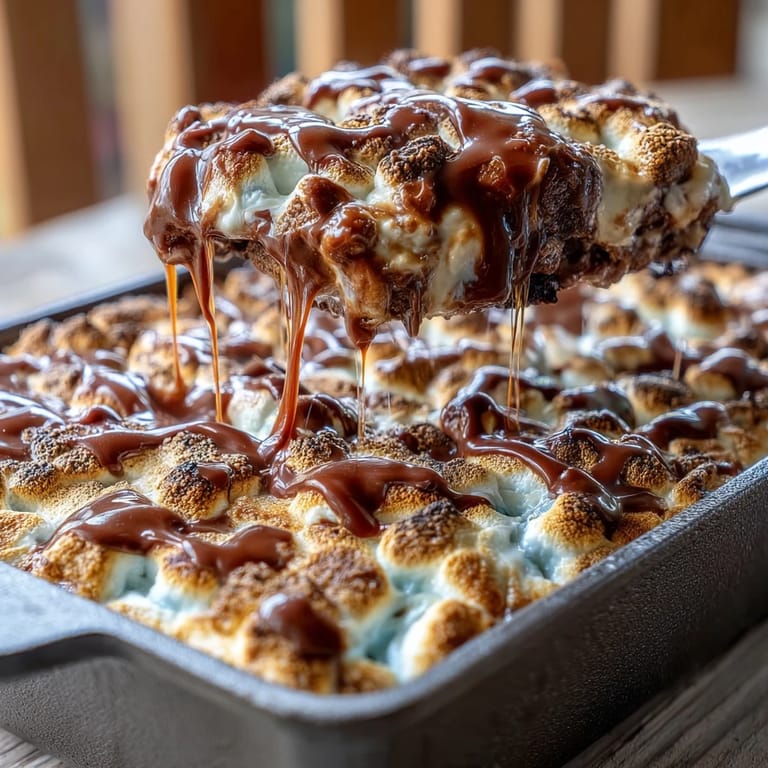
I was skeptical when Sarah pulled the skillet from the oven with oven mitts and set it in the center of the picnic table like it was some kind of edible centerpiece. The marshmallows were golden brown and still bubbling slightly at the edges, and the smell that hit us was pure nostalgia mixed with something decadent. Within minutes, every graham cracker within arm's reach had been dunked into that skillet, and someone was already asking if we could make another batch.
Ingredients
- Semi-sweet chocolate chips: Two cups is the right amount to create a substantial melted base without overwhelming the marshmallows; I've learned that going lighter on the chocolate makes it taste more like burnt sugar and air.
- Unsalted butter: The tablespoon helps the chocolate melt smoothly and prevents it from seizing up if your oven runs hot.
- Large marshmallows: Three cups is enough to cover the skillet surface completely; use the bigger ones because they toast more evenly than mini marshmallows and give you those beautiful golden peaks.
- Graham crackers: Break sixteen into pieces for dipping, and honestly, have a few extras on hand because people always want more than you'd expect.
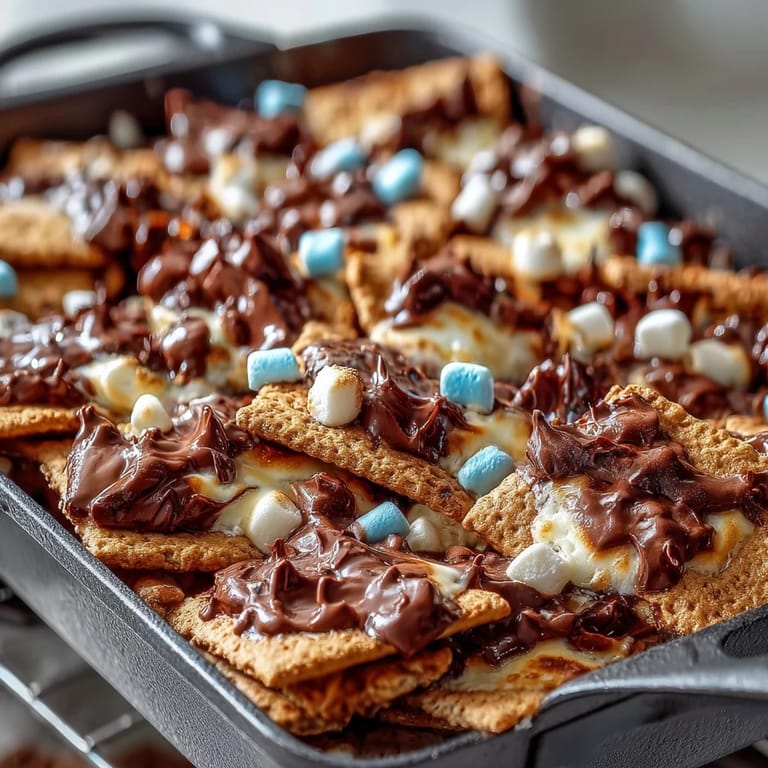
- Red, white, and blue chocolate candies: Optional but they transform this from a camping dessert into a party statement, and the sweetness contrasts nicely with the toasted marshmallow char.
- Strawberries and blueberries: Fresh berries scattered around the skillet add brightness and a little tartness that cuts through the richness.
Tired of Takeout? 🥡
Get 10 meals you can make faster than delivery arrives. Seriously.
One email. No spam. Unsubscribe anytime.
Instructions
- Heat your oven and prepare the skillet:
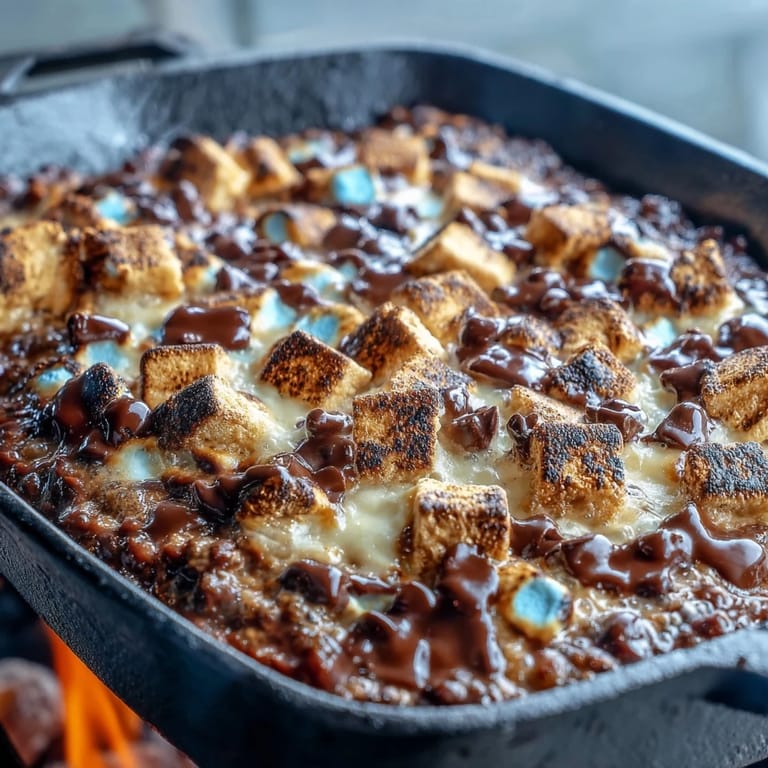
- Set your oven to 400°F and place the chocolate chips and butter in the bottom of your cast iron skillet. The cast iron holds heat beautifully and browns the marshmallows evenly, so don't skip it for a regular baking dish.
- Melt the chocolate:
- Bake for three to four minutes until the chocolate softens completely, then pull it out carefully and stir until it's smooth and glossy. This is when you realize how hot cast iron gets, so respect the oven mitts.
- Layer the marshmallows:
- Arrange the marshmallows in a single even layer over the melted chocolate, pressing them down gently so they sit in contact with the chocolate below. This helps them toast evenly and prevents weird gaps.
- Toast until golden:
- Return the skillet to the oven for five to seven minutes, watching through the window as the marshmallows puff up and turn golden brown on top. Don't walk away completely because that line between perfectly toasted and slightly burnt is about sixty seconds wide.
- Add festive toppings and cool:
- If you're using the colored candies, sprinkle them over the hot marshmallows while they're still tacky so they stick. Let everything cool for three to five minutes so you don't burn your mouth, then serve warm with your dippers nearby.
 Save
Save There's a particular magic in watching someone taste this for the first time, how their eyes light up when they realize they're getting that s'mores experience without any of the campfire logistics. My neighbor's daughter actually asked her mom if we could make this every holiday, which is maybe the highest compliment a dessert can get.
Cast Iron is Your Secret Weapon
The reason this recipe works so beautifully in a cast iron skillet is the heat distribution; regular baking pans have hot spots that can scorch the marshmallows unevenly, but cast iron spreads the heat like it's designed for exactly this purpose. If you don't have a cast iron skillet, this might be the moment to finally invest in one because the theatrical factor alone makes it worth the cabinet space.
Make It Your Own
Sarah's party version included a light sprinkle of sea salt over the chocolate, which sounds odd until you taste how it amplifies the sweetness and the chocolate flavor. The berries we scattered around the edges weren't just decoration; they provided little bursts of tartness that kept us from getting marshmallow fatigue.
Serving and Storage Thoughts
This is absolutely a serve-immediately kind of dessert, and the beauty is that you can assemble everything right before your guests arrive so it comes out of the oven at peak gooeyness. The skillet itself becomes part of the presentation, so clear a safe spot on your table and let people gather around it like it's a delicious campfire.
- Have small plates or napkins nearby because this gets messy in the best possible way.
- If you're feeding a crowd larger than eight, you can double the recipe and use two skillets side by side in the oven.
- Any leftover dip hardens overnight and can actually be eaten cold like fudge, though it loses that magical warm texture.
 Save
Save This dip became our Fourth of July tradition after that first year, and now people ask about it before they even confirm they're coming to the party. There's something about sharing a warm, gooey dessert from a cast iron skillet that makes people relax and linger longer than they planned.
Recipe FAQ
- → What temperature should I bake the layers?
Preheat the oven to 400°F (200°C) to melt the chocolate and toast the marshmallows evenly.
- → Can I use milk chocolate instead of semi-sweet?
Yes, milk chocolate can be used but it will yield a sweeter and creamier finish.
- → How do I know when marshmallows are ready?
They should be golden brown and slightly puffed after 5–7 minutes for the ideal toasted texture.
- → What are good dips to serve with this dish?
Graham crackers provide a classic pairing; fresh strawberries and blueberries add sweet freshness.
- → Can I prepare this ahead of time?
For best texture, serve immediately as it hardens while cooling, but it can be gently reheated if needed.