 Save
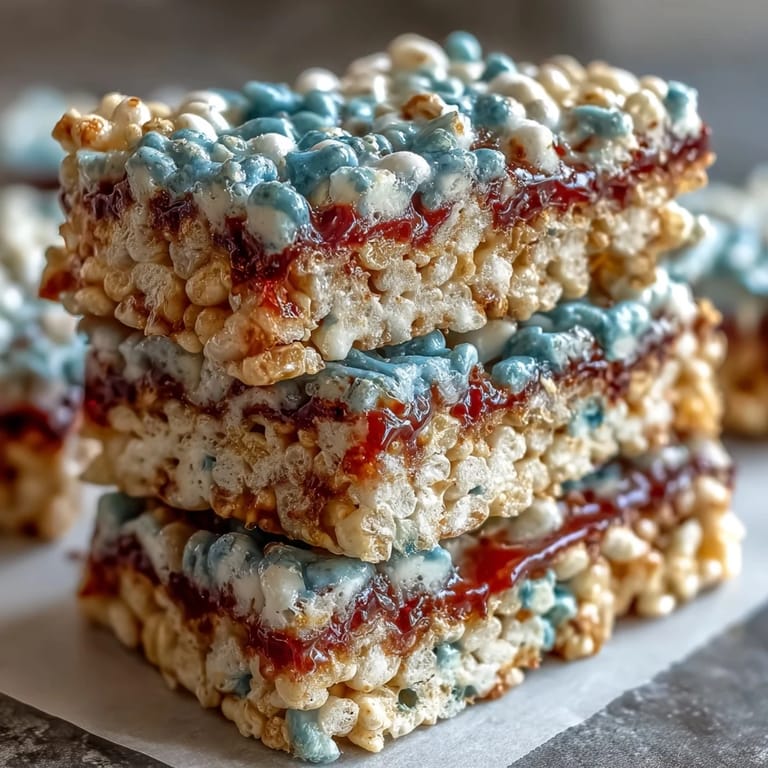
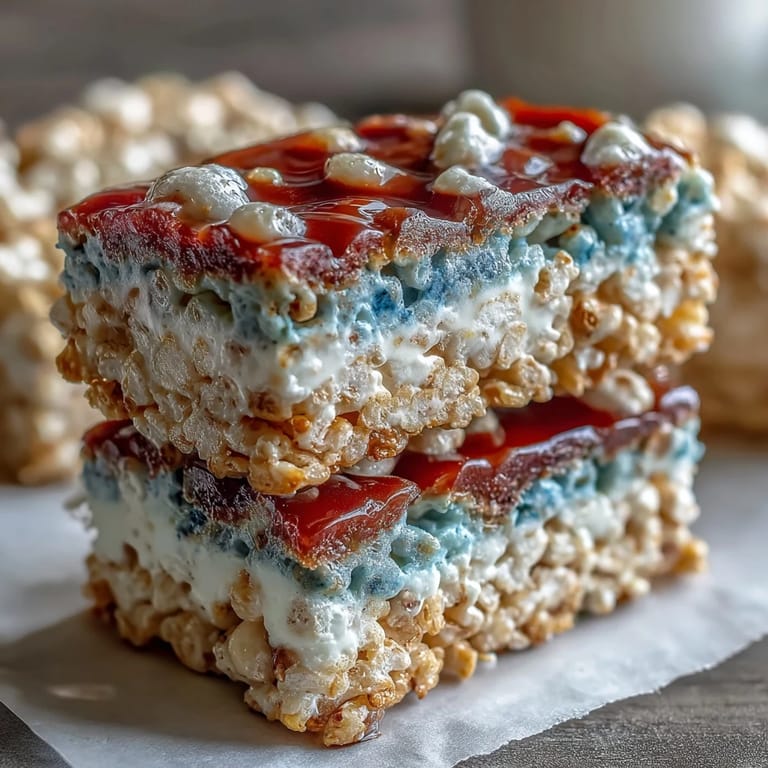
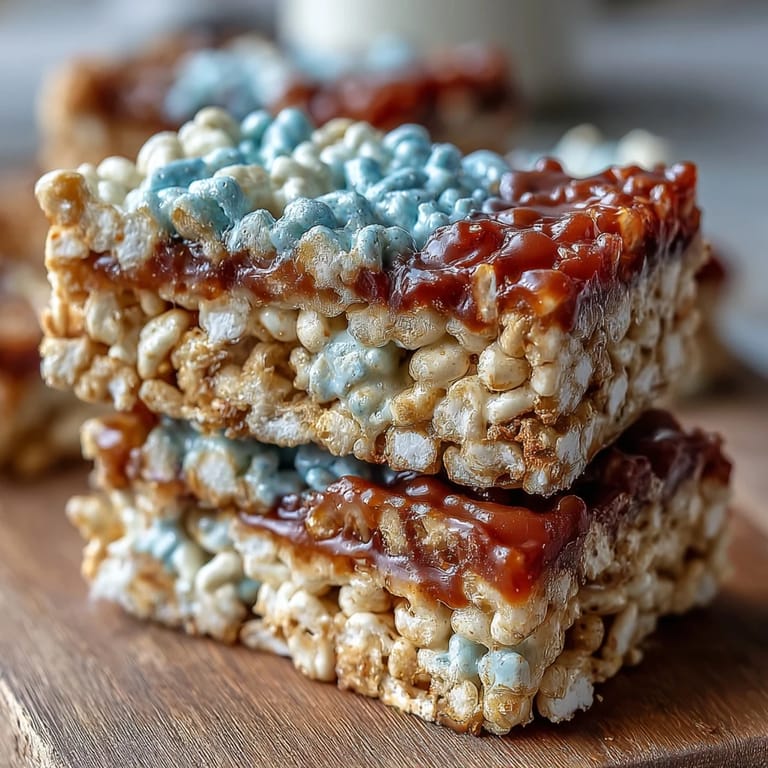
Save Every Fourth of July, my kitchen transforms into a patriotic command center, and these layered Rice Krispies treats have become the unofficial centerpiece of my holiday spread. My kids insisted on making something "American" one year, and after a few sticky-fingered attempts, we landed on this three-color wonder that looks almost too pretty to eat. There's something magical about watching marshmallow melt into those bright gel colors, turning what would be an ordinary snack into something that screams celebration.
I'll never forget the neighborhood block party where I brought these treats in a red, white, and blue platter, and they vanished before the fireworks even started. Someone asked for the recipe right there on the sidewalk, marshmallow still on their face, which felt like the highest compliment possible. That moment made me realize these treats had transcended snack status—they'd become a little edible tradition.
Ingredients
- Rice Krispies cereal: The foundation of everything—use the real stuff, not store-brand knockoffs, because the texture difference is noticeable when you're dealing with three delicate layers.
- Mini marshmallows: Smaller ones melt faster and more evenly than regular ones, which means fewer lumps and smoother color distribution.
- Unsalted butter: You're dividing this into three portions, so room-temperature butter melts more gently and prevents scorching on that first red layer.
- Vanilla extract: The white layer needs this little whisper of flavor to stand out from its patriotic siblings.
- Red and blue gel food coloring: Non-negotiable—liquid coloring will waterlog your mixture and make pressing the layers nearly impossible.
- Red, white, and blue sprinkles: These are optional, but they're the exclamation point on top, especially if you're bringing these somewhere.
Tired of Takeout? 🥡
Get 10 meals you can make faster than delivery arrives. Seriously.
One email. No spam. Unsubscribe anytime.
Instructions
- Prep your pan:
- Line a 9x9-inch baking pan with parchment paper and give it a light grease—you're creating an escape route for these treats later. Trust me, future you will appreciate not having to chip hardened marshmallow off the corners.
- Divide everything:
- Split your marshmallows and butter into three equal portions before you start melting anything. This sounds tedious, but it prevents the chaos of trying to eyeball measurements mid-melt when your stovetop is suddenly very hot and demanding attention.
- Create the red layer:
- Melt 1 tablespoon butter over low heat, then add your first batch of marshmallows, stirring constantly until they transform into a glossy, melted pool. Add red gel coloring a few drops at a time—it's easier to add more color than to dial it back—then fold in 2 cups of cereal until every piece is coated, and press firmly into the pan's bottom.
- Build the white layer:
- Wipe that saucepan clean (marshmallow residue can burn and turn bitter), melt the second portion of butter and marshmallows the same way, then stir in vanilla extract for a subtle flavor dimension. Gently press this layer over the red one—you're not trying to squash it flat, just nestle it into place so the colors don't swirl together.
- Top with blue:
- Repeat the melting process with your final butter and marshmallow portion, color it blue with the same careful approach, mix in the remaining cereal, and press gently on top of the white layer. The top should feel slightly warm and smell distinctly of marshmallow and butter at this point.
- Add sparkle (optional):
- If you're using sprinkles, scatter them across the blue layer while it's still slightly warm so they stick rather than sliding off later. It's a small touch that transforms these from homemade-and-honest to restaurant-quality decorated.
- Cool and cut:
- Let everything set at room temperature for at least an hour—patience here prevents a crumbly mess when you slice. Once firm, lift the whole thing out using the parchment edges and cut into sixteen squares with a sharp, lightly buttered knife.
 Save
Save My sister brought these to a community picnic last summer, and watching strangers react to the moment they bit through all three layers—that crunch and color reveal—reminded me why these treats feel special. It's not just about the taste; it's about creating something that feels celebratory and requires actual care to assemble.
The Gel Coloring Secret
I learned the hard way that gel food coloring is genuinely different from the liquid stuff your grandmother probably used. Gel gives you vibrant, saturated colors without watering down your marshmallow mixture, which means your layers stay distinct and snappy rather than bleeding into each other like a watercolor painting. The first time I used liquid coloring, the whole batch turned into a beige blob, and I had to laugh at myself while scraping it into the trash.
Timing and Temperature Matter
Low heat is your friend here—rushing this with high heat will scorch the marshmallows and fill your kitchen with a burnt-sugar smell that lingers for days. I've found that the moment your marshmallows hit that glossy, fully melted stage is the exact moment to add color and cereal; waiting even thirty seconds longer means they're starting to set and won't mix as smoothly. The whole melting and mixing process should feel calm and deliberate, not frantic.
Making These Your Own
Once you nail the basic three-layer technique, you can play with themes—patriotic is just the starting point, and I've made versions for Halloween, Christmas, and birthday parties by swapping the colors. The technique stays exactly the same, which means once you've made these once, you can spin variations without breaking a sweat. Some people add a pinch of sea salt to each layer for contrast, or use different extracts in the white layer to change up the flavor profile without compromising the visual impact.
- Try adding a tiny pinch of salt to each layer for a sweet-salty complexity that makes people ask for the secret ingredient.
- Store these in an airtight container and they'll last three days, though they rarely make it that long in my house.
- If you're transporting these, cut them and layer parchment between rows to prevent sticking and color transfer.
 Save
Save These treats remind me that sometimes the simplest recipes create the most memorable moments, especially when they look as good as they taste. Make them once, and you'll understand why they've become my Fourth of July tradition.
Recipe FAQ
- → What type of food coloring is best for vibrant layers?
Gel food coloring is recommended as it provides bright, vivid hues without adding extra moisture that could affect the texture.
- → Can salted butter be used in place of unsalted?
Yes, salted butter can add a subtle savory note, but be mindful of additional salt in the overall taste.
- → How long should these treats be cooled before slicing?
Allow at least one hour for cooling and setting to ensure clean slices and proper texture.
- → Are these layers sticky while assembling?
Yes, slightly sticky. Lightly greasing your hands or spatula helps in pressing layers smoothly without sticking.
- → Can the sprinkles be omitted or replaced?
Absolutely, sprinkles are optional and can be swapped for other decorations or left out entirely based on preference.