 Save
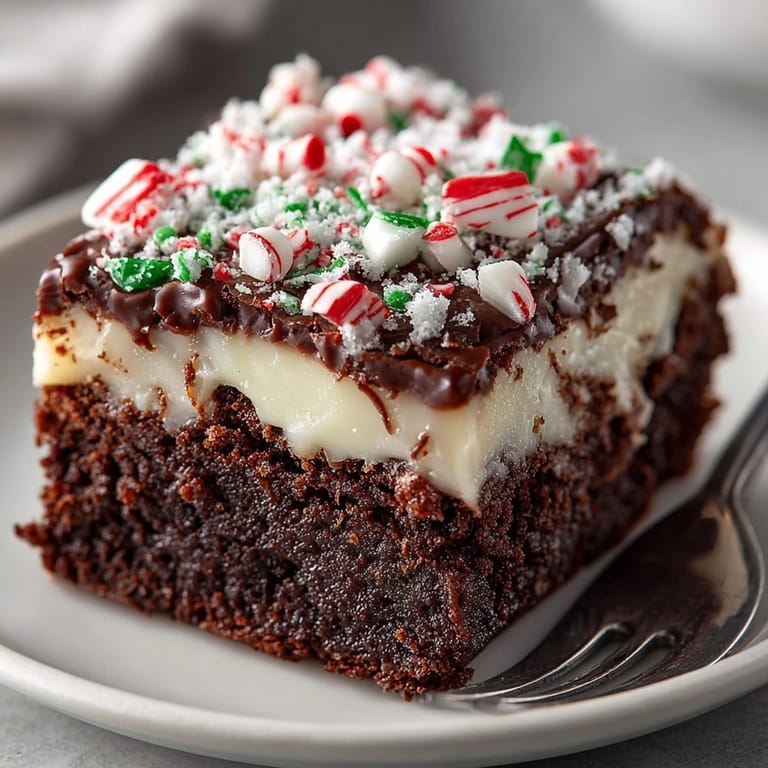
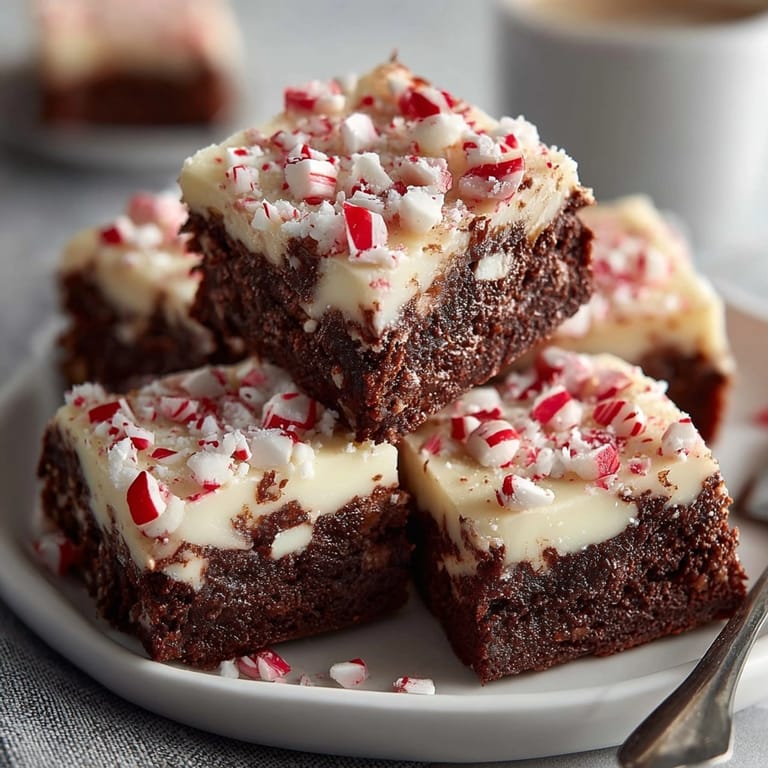
Save This rich chocolate peppermint bark brownie recipe has become my holiday signature dessert. The combination of fudgy chocolate brownies topped with creamy white chocolate and crushed peppermint creates a festive treat that disappears within minutes at any gathering. The contrast between the deep chocolate flavor and cool peppermint makes these brownies irresistible.
I first created these brownies for a neighborhood cookie exchange five years ago. They were such a hit that I received three requests for the recipe before the night was over. Now they're requested at every winter gathering I attend.
Ingredients
- For the Brownies
- Unsalted butter: provides richness and helps create that perfect fudgy texture
- Semisweet chocolate: forms the flavor foundation look for bars with 60% cocoa content for best results
- Granulated sugar: balances the bitterness of the chocolate
- Large eggs: provide structure and richness
- Vanilla extract: enhances the chocolate flavor
- Peppermint extract: adds the signature holiday flavor without overwhelming
- All purpose flour: keeps the brownies dense and fudgy use less than typical brownie recipes intentionally
- Unsweetened cocoa powder: intensifies the chocolate flavor use Dutch processed for deeper color
- Salt: balances the sweetness and enhances the chocolate notes
- For the Peppermint Bark Topping
- White chocolate: creates the classic peppermint bark layer choose a quality brand that melts smoothly
- Peppermint extract: reinforces the minty flavor
- Crushed peppermint candies: add festive color and delightful crunch look for pure peppermint candies without artificial colors if possible
Tired of Takeout? 🥡
Get 10 meals you can make faster than delivery arrives. Seriously.
One email. No spam. Unsubscribe anytime.
Instructions
- Prepare the Pan:
- Proper preparation ensures easy removal and perfect cuts. Line your 8inch square pan with parchment paper allowing extra to hang over the sides. This creates handles that make lifting the entire brownie slab effortless once cooled. Press the parchment into corners to prevent batter seepage.
- Create the Brownie Base:
- Melt butter and chocolate together over low heat stirring constantly to prevent scorching. The mixture should be completely smooth with no chocolate pieces remaining. Allow to cool for 3 minutes before adding other ingredients this prevents cooking the eggs prematurely.
- Mix the Wet Ingredients:
- Add sugar to the slightly cooled chocolate mixture and whisk vigorously for 30 seconds. This creates a slightly grainy appearance that gives the brownies their characteristic shiny top. Incorporate eggs one at a time whisking thoroughly between additions. Add both extracts and blend until the mixture looks glossy and uniform.
- Add Dry Ingredients:
- Sift flour cocoa powder and salt directly into the wet mixture. This eliminates lumps and ensures even distribution. Fold gently with a spatula using no more than 15 strokes. Stop when you still see a few streaks of flour the batter should look somewhat undermixed to prevent tough brownies.
- Bake to Perfection:
- Spread batter evenly in prepared pan using an offset spatula to create a level surface. Bake in the center rack of your preheated oven for exactly 32 minutes for fudgy centers. The toothpick test should show moist crumbs not wet batter. Allow to cool completely in the pan at least 1 hour for clean cuts.
- Create the Peppermint Topping:
- Melt white chocolate using a double boiler or microwave in 20second intervals stirring between each. Add peppermint extract after melting and stir quickly to incorporate. Pour immediately over cooled brownies and spread in an even layer working quickly before it sets.
- Add the Festive Finish:
- Sprinkle crushed peppermint candies over the white chocolate while still soft pressing gently to adhere. Work quickly as the chocolate begins setting within minutes. For the most visually appealing result use a mix of fine and chunky candy pieces.
- Set and Slice:
- Refrigerate for exactly 25 minutes until the topping is firm but not completely hard. Remove using parchment handles and place on cutting board. Use a sharp knife wiped clean between cuts to create 16 perfect squares.
 Save
Save The peppermint extract is truly the secret ingredient here. I learned through multiple test batches that adding a small amount to both the brownie base and the white chocolate topping creates the perfect flavor balance. My grandmother always said good baking is about layering flavors and this recipe proves her right every time.
Storage Solutions
These brownies maintain their perfect texture when stored properly. Keep them in an airtight container at room temperature for up to three days. Place parchment paper between layers to prevent the peppermint topping from sticking. For longer storage refrigerate for up to one week though the contrast between fudgy brownie and crunchy topping is best within the first four days. If you notice the peppermint pieces becoming sticky after a few days this is normal as they absorb moisture from the air.
Make Ahead Options
These brownies are perfect for holiday preparation. You can make the brownie base up to two days ahead and add the white chocolate peppermint topping just before serving or gifting. The brownie layer actually improves with a day of rest becoming more fudgy and intensifying in flavor. For complete make ahead prepare the entire recipe let set fully then wrap tightly in plastic wrap. Store at room temperature if using within 48 hours or refrigerate for longer storage.
Variations and Substitutions
While the classic recipe is perfect as written you can customize these brownies in several delicious ways. For a darker chocolate experience substitute bittersweet chocolate for the semisweet. If peppermint isnt your favorite try orange extract with candied orange peel on top instead. For those avoiding white chocolate a simple dark chocolate ganache works beautifully with the peppermint topping. Gluten free bakers can substitute a one to one gluten free flour blend with excellent results. The key is maintaining the fudgy texture regardless of your adaptations.
Serving Suggestions
These brownies make a stunning dessert when served slightly warmed with a scoop of vanilla ice cream. For a holiday dessert table cut them into miniature squares and arrange on a tiered platter interspersed with other cookies. They pair beautifully with hot chocolate coffee or peppermint tea. For an elevated presentation dust the serving plate with cocoa powder and add a few whole peppermint sticks as garnish. The contrast of temperatures between a slightly warm brownie and cool peppermint topping creates a memorable sensory experience.
Gift Packaging Ideas
These brownies make exceptional holiday gifts. Stack four brownies and wrap in cellophane tied with ribbon for a simple presentation. For more elaborate gifting place in a decorative tin lined with parchment paper alternating layers with additional parchment to prevent sticking. Include a handwritten recipe card for a personal touch. When shipping to distant friends pack carefully with bubble wrap in a sturdy box they travel surprisingly well when properly packaged. Recipients consistently tell me these are the most anticipated treats in their holiday care packages.
 Save
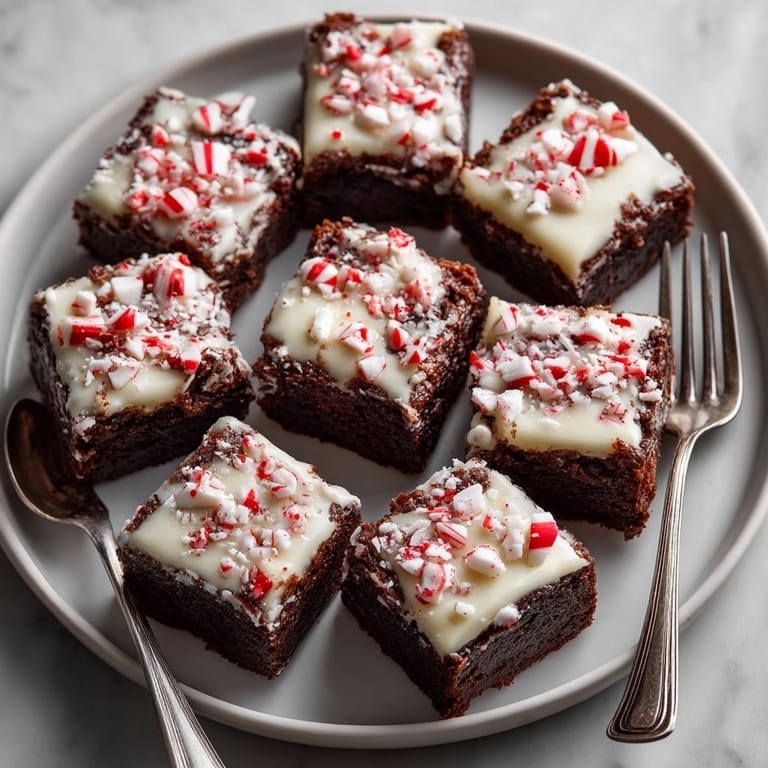
Save The magic of these chocolate peppermint bark brownies lies in their perfect contrast of textures and flavors. Each bite delivers the rich fudgy brownie base followed by smooth white chocolate and the refreshing crunch of peppermint. They embody everything wonderful about holiday baking tradition with a touch of elegance. Whether shared at a cookie exchange gifted to neighbors or enjoyed quietly with family these brownies create moments of pure joy.
Recipe FAQ
- → Can I use milk chocolate instead of semisweet chocolate?
Yes, milk chocolate will create a sweeter, less intense chocolate flavor. Adjust sugar slightly to taste if needed.
- → How do I prevent brownies from overbaking?
Check for doneness after 30 minutes by inserting a toothpick; moist crumbs are ideal. Avoid a dry, clean toothpick.
- → Can the brownies be made gluten-free?
Absolutely. Substitute the all-purpose flour with a gluten-free blend for similar results.
- → How do I melt white chocolate without burning it?
Melt gently over simmering water or microwave in short bursts, stirring often to prevent scorching.
- → What's the best way to cut clean squares?
Chill brownies until firm, then use a sharp knife wiped clean between cuts for neat edges.
- → Can these be stored for later?
Store in an airtight container at room temperature for up to 3 days or refrigerate for longer freshness.