 Save
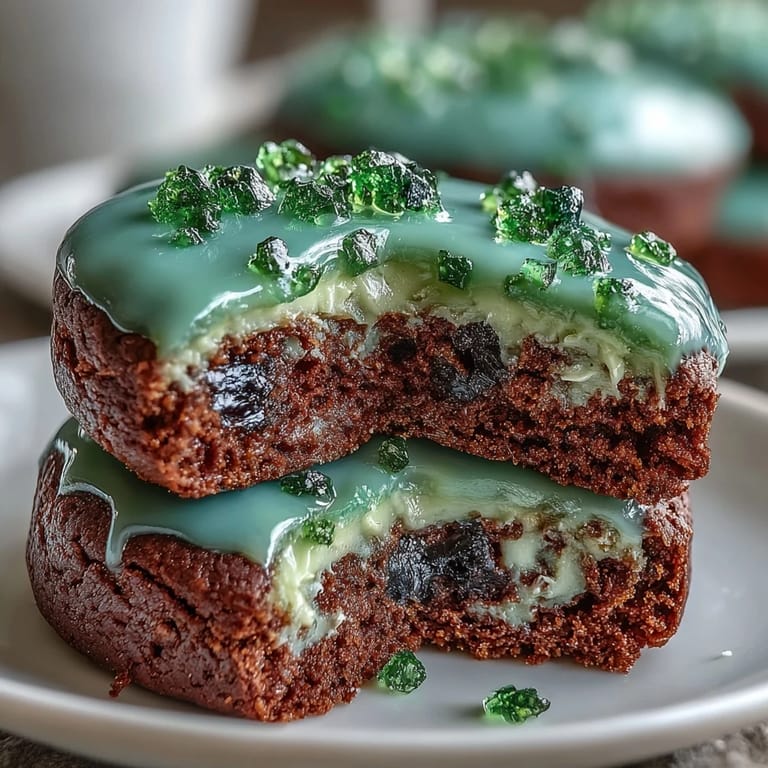
Save My coworker Sarah brought these to the office last March, and I watched everyone gravitate toward the green cookie platter like it was the only thing worth talking about that day. She'd made them the night before, and they still had that perfect tender crumb with this almost buttery snap when you bit through. I asked for the recipe on the spot, and what started as a St. Patrick's Day impulse became something I genuinely look forward to making every spring now.
I made these for my daughter's classroom St. Patrick's Day party last year, and the teacher texted me a photo of the plate completely empty within twenty minutes. One kid came back for seconds and asked if there was a secret ingredient because they tasted fancy, which made me laugh since the secret was really just not overbaking them and using gel food coloring to keep the dough from getting weird and thick.
Ingredients
- All-purpose flour (2 1/2 cups): This is your structure, and measuring it by weight rather than scooping straight from the bag will stop your cookies from turning dense and cake-like.
- Baking powder (1/2 tsp): Just a whisper of this gives the cookies their tender, almost cloud-like texture without making them cakey.
- Salt (1/4 tsp): It sounds like a tiny amount, but it brings out the vanilla and butter flavors in a way that makes people say your cookies taste somehow elevated.
- Unsalted butter (1 cup), softened: Cold butter will fight you during creaming, so pull it out and let it sit on the counter for about thirty minutes until it's soft enough to dent with your finger.
- Granulated sugar (1 cup): This is what makes the cookies tender and slightly chewy in the center, so don't skip it or swap it.
- Large egg (1): Room temperature eggs incorporate better and create a smoother dough, so let yours sit out while you gather everything else.
- Pure vanilla extract (2 tsp): The real stuff makes a noticeable difference here since vanilla is basically the main flavor supporting player.
- Almond extract (1/2 tsp, optional): This is a secret weapon that adds a subtle complexity without tasting like anything specific, just makes people wonder what you did differently.
- Green gel food coloring: Gel beats liquid every single time because it won't make your dough wet and runny, and the color is way more vibrant without needing to use half a bottle.
- Green sparkling or sanding sugar (1/2 cup): This is where the festive magic happens, so don't use regular granulated sugar as a shortcut.
- Unsalted butter for frosting (1/2 cup), softened: Same softness rule applies here—you want it creamy enough to blend smoothly with the powdered sugar.
- Powdered sugar (1 3/4 cups), sifted: Sifting removes lumps so your frosting doesn't have little grainy bits, which takes two minutes and makes a real difference.
- Milk (1 1/2 tbsp): This keeps the frosting from being too stiff to spread, but add it slowly because you can always mix in more but you can't take it back.
Tired of Takeout? 🥡
Get 10 meals you can make faster than delivery arrives. Seriously.
One email. No spam. Unsubscribe anytime.
Instructions
- Heat your oven and prep your workspace:
- Set the oven to 350°F and line your baking sheets with parchment paper, which takes the guesswork out of whether cookies will stick. This step takes literally one minute but saves you from the frustration of scraping cookies off sheet.
- Combine your dry ingredients:
- Whisk the flour, baking powder, and salt together in a medium bowl and set it to the side. This ensures the leavening is evenly distributed so your cookies bake consistently.
- Cream the butter and sugar until it looks like wet sand:
- Beat them together for two to three minutes until the mixture is noticeably lighter in color and fluffy. This is where you're incorporating air, which is what keeps these cookies tender instead of dense.
- Add your egg and extracts:
- Beat in the egg first, then the vanilla and almond extract, mixing for about thirty seconds after each addition. You'll see the mixture become slightly thick and pale, which is exactly what you want.
- Turn the dough green:
- Add a few drops of green gel coloring and beat until you reach the shade you want, starting small because gel coloring is concentrated and you can always add more. It only takes a few drops to get a rich, festive green without turning your dough a sickly shade.
- Fold in the dry ingredients gently:
- Add the flour mixture gradually, mixing on low speed just until the dough comes together without any white streaks of flour. Overmixing at this point develops gluten and makes the cookies tougher, so stop as soon as you can't see flour anymore.
- Shape and sugar coat your cookies:
- Scoop tablespoon-sized portions and roll them into balls with your hands, then immediately roll each one in the green sparkling sugar so it sticks. The dough is warm and soft at this point, which helps the sugar adhere.
- Flatten and bake:
- Place the balls two inches apart on your prepared sheets and flatten each one gently with your palm to about a quarter-inch thickness. Bake for nine to eleven minutes, pulling them out when the edges look set but the centers still jiggle slightly when you gently shake the pan.
- Cool completely before touching:
- Let the cookies sit on the baking sheet for two minutes, then transfer them to a wire rack and let them cool all the way before filling. They'll firm up as they cool, and warm cookies will crush when you handle them.
- Make your frosting:
- Beat the softened butter until it's creamy and pale, then gradually add the sifted powdered sugar a little at a time to avoid a cloud of sugar dust. Add the milk, vanilla, and salt, and beat until the frosting is light and fluffy enough to spread smoothly.
- Assemble your sandwich cookies:
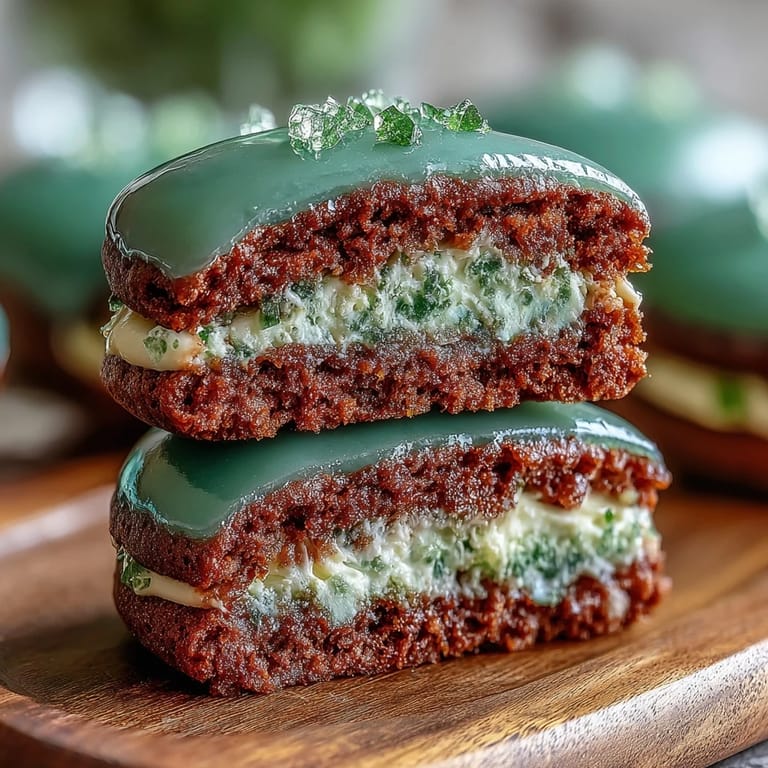
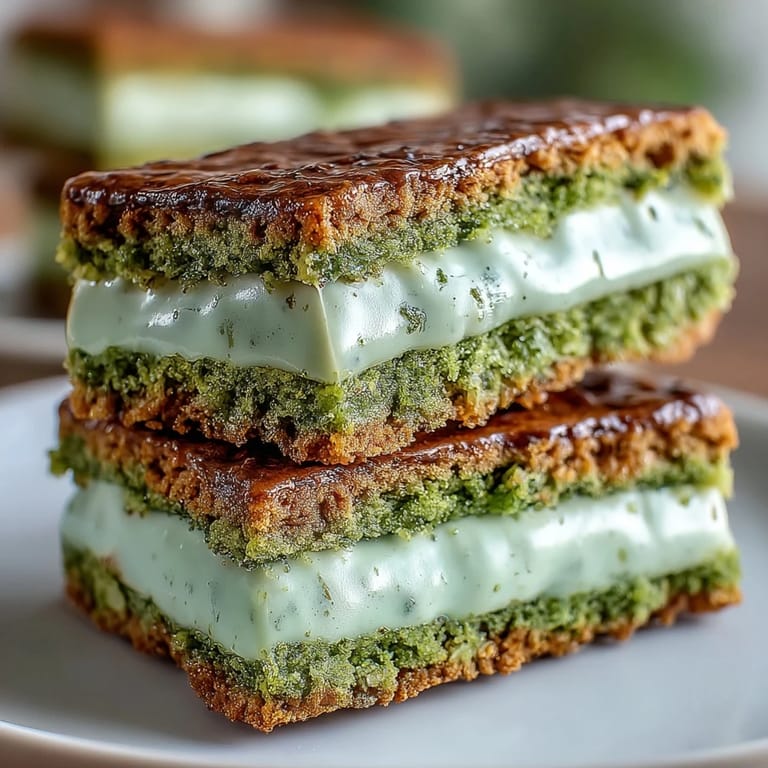
- Spread or pipe a generous dollop of frosting onto the flat side of half your cookies, then press the remaining cookies on top, flat side down. If you want extra pizzazz, roll the exposed frosting edges in more sparkling sugar while the frosting is still soft.
 Save
Save There's something about watching someone bite into a cookie sandwich and get that first hit of soft cookie, creamy frosting, and sparkly sugar all at once that reminds you why you bother making things by hand. My neighbor actually asked if I could make them for her daughter's birthday because apparently these were the standout memory from that St. Patrick's Day party.
Why Gel Coloring Changes Everything
I learned the hard way that liquid food coloring makes dough greasy and requires using so much that the cookies taste slightly off. Gel coloring is concentrated, so a few drops give you the vibrant green you want without needing to adjust flour ratios or ending up with cookies that spread too thin. It's one of those small switches that feels minor until you taste the difference.
The Frosting Secret That Holds It Together
Sifting the powdered sugar is genuinely not optional if you want frosting that spreads smoothly and doesn't have a grainy texture. I used to skip this step thinking it didn't matter, and then I started sifting and realized my frosting had always had these little lumps that I'd just accepted as normal. It takes two minutes and transforms the frosting from acceptable to actually creamy and cloud-like.
Storage and Last-Minute Thoughts
These cookies are actually better the next day when the flavors have melded together a bit, so there's no rush to eat them all immediately. Store them in an airtight container at room temperature, and they'll stay soft and delicious for three days, though honestly they rarely last that long in my house.
- If your frosting is too stiff to spread, add milk one teaspoon at a time until it reaches the right consistency rather than making it all at once.
- Try adding a few drops of peppermint extract to the frosting if you want a festive twist that still feels classic and not gimmicky.
- Make these a day ahead of your event so you're not stressed about timing, and they actually taste better when the frosting has set slightly.
 Save
Save There's something genuinely special about making food that tastes fancy but doesn't require any weird techniques or impossible ingredients—just good butter, real vanilla, and the willingness to not overbake. These cookies have become my St. Patrick's Day tradition, and I think they'll become one of yours too.
Recipe FAQ
- → What gives the cookies their green color?
Green gel food coloring is used to achieve a vibrant green hue without affecting the dough’s consistency.
- → How should the cookies be stored?
Store the cookies in an airtight container at room temperature to keep them fresh for up to 3 days.
- → Can I add other flavors to the frosting?
Yes, adding a few drops of peppermint extract to the frosting creates a festive flavor twist.
- → What makes the cookie texture soft yet sturdy?
A balance of butter, sugar, and flour, along with proper baking time, results in edges that set and centers that stay soft for easy sandwiching.
- → How is the sparkling effect achieved?
Rolling cookie dough balls in green sparkling sugar before baking adds a festive sparkle to the surface.